How to Make an Easy Paper Star Garland
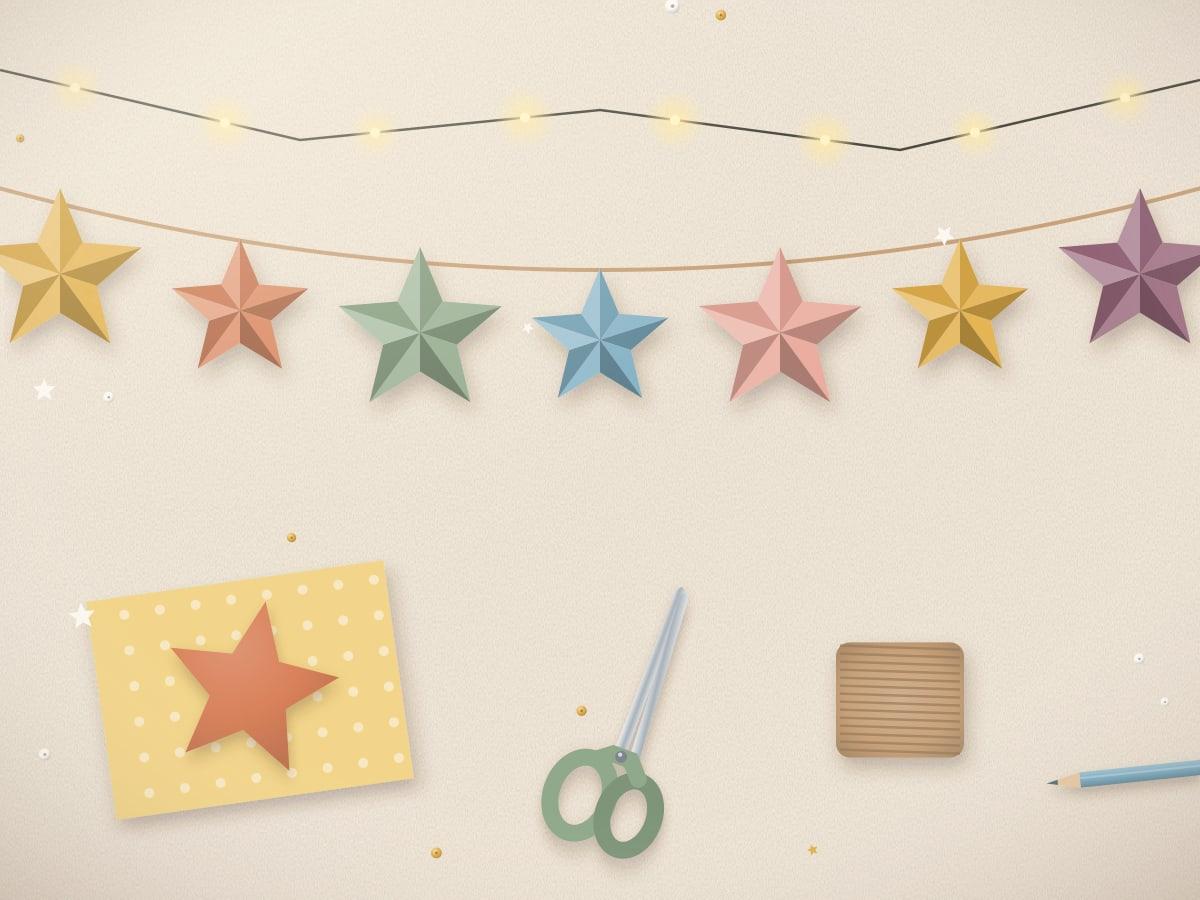
A paper star garland is one of the simplest decorations you can make, and it works for birthdays, holidays or a cozy corner all year round. This tutorial walks through cutting a basic five-point star, adding fold lines for a dimensional look, and stringing the stars into an even garland.
Published · 2 min read
- Difficulty
- Beginner
- Crafting time
- 45 minutes
- Estimated cost
- Under $10
Table of contents
About this project
This garland uses a single template and a few folds to turn flat paper into stars that catch the light. Cardstock holds its shape best, but scrapbook paper, old maps or book pages work too.
Choosing paper
- Cardstock (65–80 lb): sturdy and crisp, the best choice for dimensional folds.
- Scrapbook paper: pre-printed patterns with no extra work.
- Recycled paper: sheet music, maps and magazine pages give a vintage look.
Plan on about one star for every 6 inches of garland.
shopping list ✓
Materials and supplies
Tick items off as you gather them.
tools you'll need
- Scissors
- Pencil
- Ruler
- Bone folder or the back of a butter knife (optional)
let's make it!
Step-by-step instructions
Step 1: Cut your paper into squares
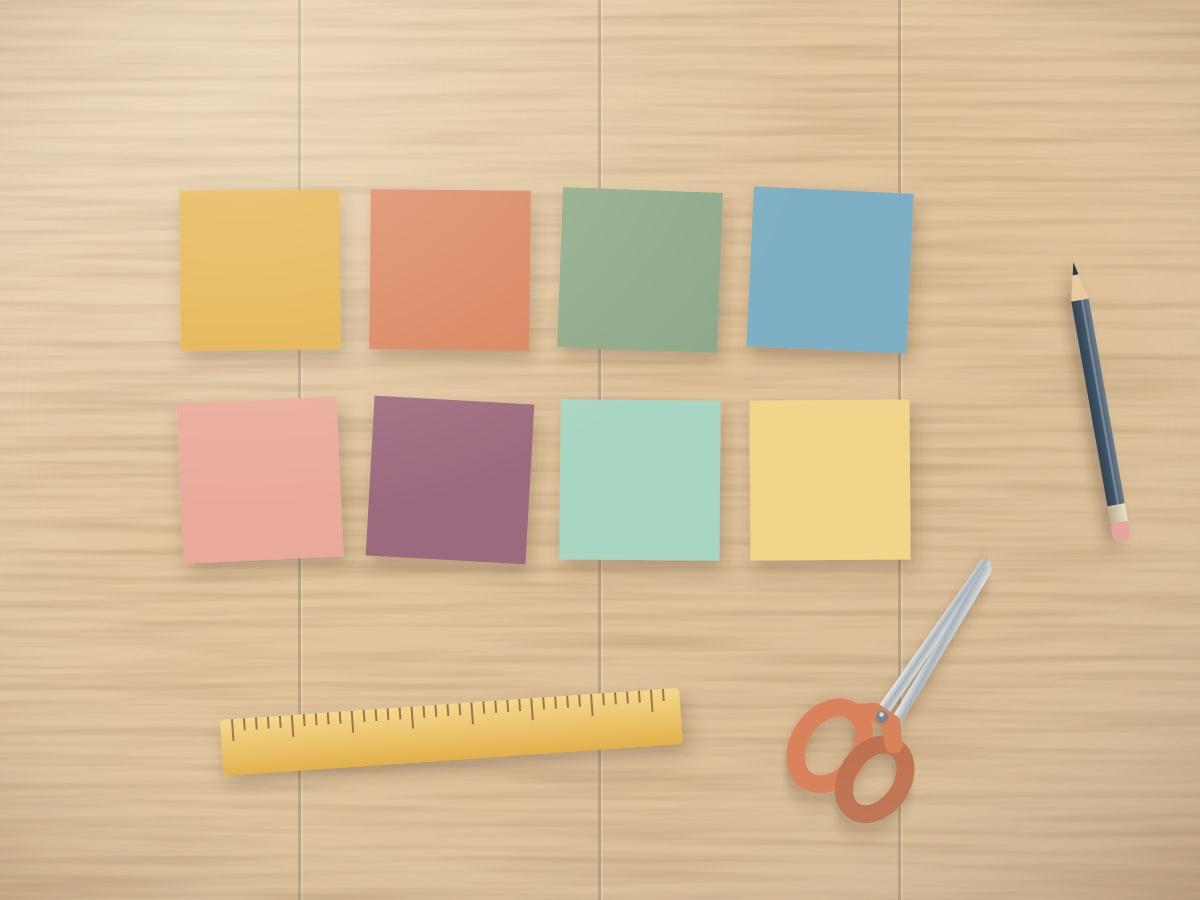
Cut each sheet into 4 × 4 inch squares. A square gives you just enough room for a 3½-inch star with a small margin.
Colorful squares of cardstock arranged in two rows next to a pair of scissors Step 2: Trace and cut the stars
Place the template on a square, trace lightly with pencil and cut along the lines. Cut slightly inside the pencil line so no marks remain.
Step 3: Score the fold lines
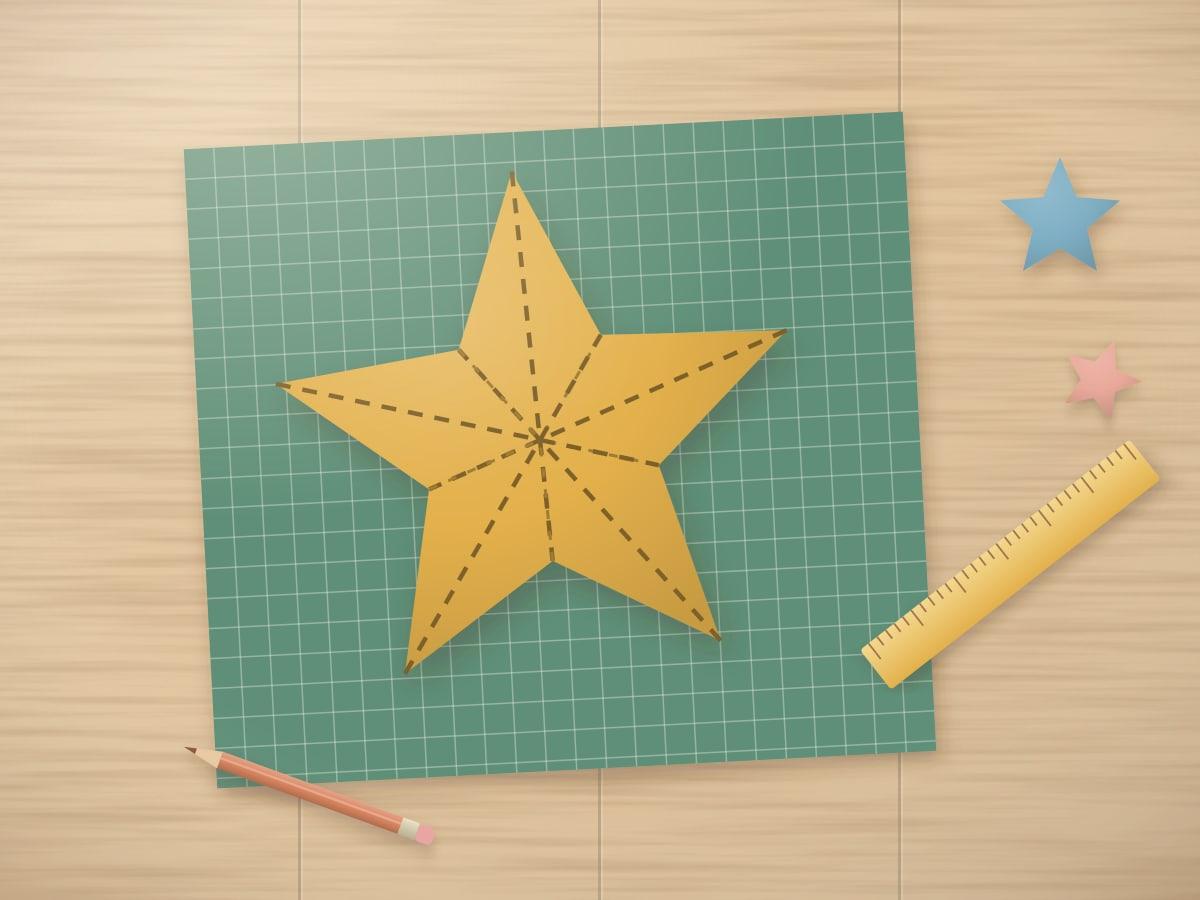
Using a ruler, score a line from each point through the center to the opposite inner corner. Scoring first gives you crisp folds without cracking the paper.
A yellow paper star with dashed fold lines running from each point to the center Step 4: Fold for dimension
Fold along each line from the point to the center as a mountain fold, then pinch the inner corners as valley folds. The star will rise in the middle.
Step 5: Attach the stars to the string
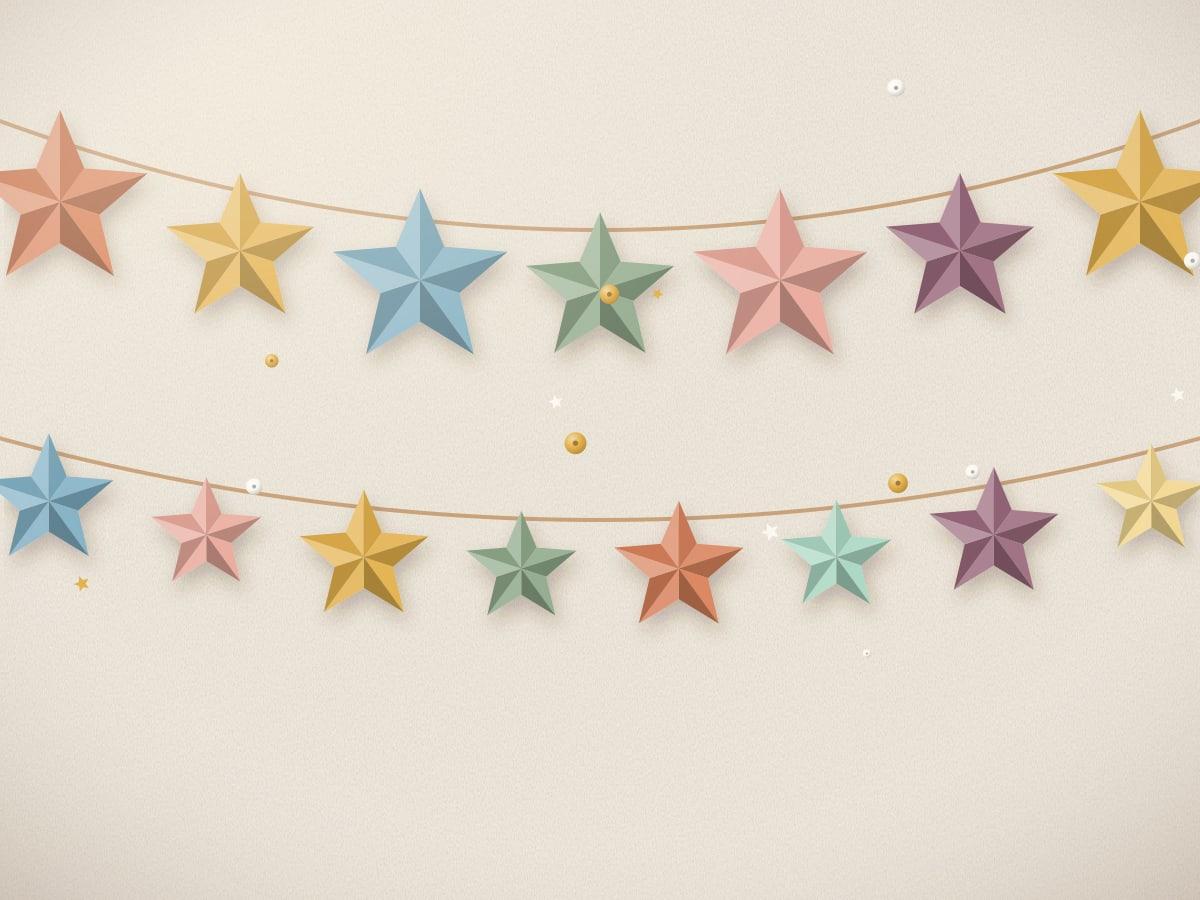
Lay the string out flat and space the stars about 6 inches apart. Add a small strip of double-sided tape to the back of each star and press the string into it. Cover with a small paper circle for a neat finish.
A finished garland of colorful paper stars hanging on twine Step 6: Hang and adjust
Tie a loop at each end of the string and hang the garland. Slide stars along the tape if the spacing needs adjusting before it sets.
pro tips!
Helpful craft tips
- Cut several layers at once by stacking two or three sheets and clipping them together.
- Use metallic cardstock for one star in every five to add a little shine.
- Store the garland flat between sheets of paper so the folds stay crisp.
Variations to try
- Mini stars: use 2-inch squares and embroidery floss for a delicate garland.
- Hanging mobile: hang stars at different lengths from a small embroidery hoop.
- Gift toppers: glue a single dimensional star onto a wrapped present.
Safety tips
Children should use child-safe scissors, and an adult should handle scoring with a craft knife if you use one.
Frequently asked questions
What is the best paper for a paper star garland?
Medium-weight cardstock (65–80 lb) is the best choice because it holds folds well and doesn't droop. Thinner paper works for flat stars.
Can I make the garland without glue?
Yes. Punch two small holes near the top of each star and thread the string through them.
How long should the garland be?
Measure the space and add about 12 inches for draping and ties. You'll need roughly one star for every 6 inches.
Keep crafting
Related craft projects
 Easy
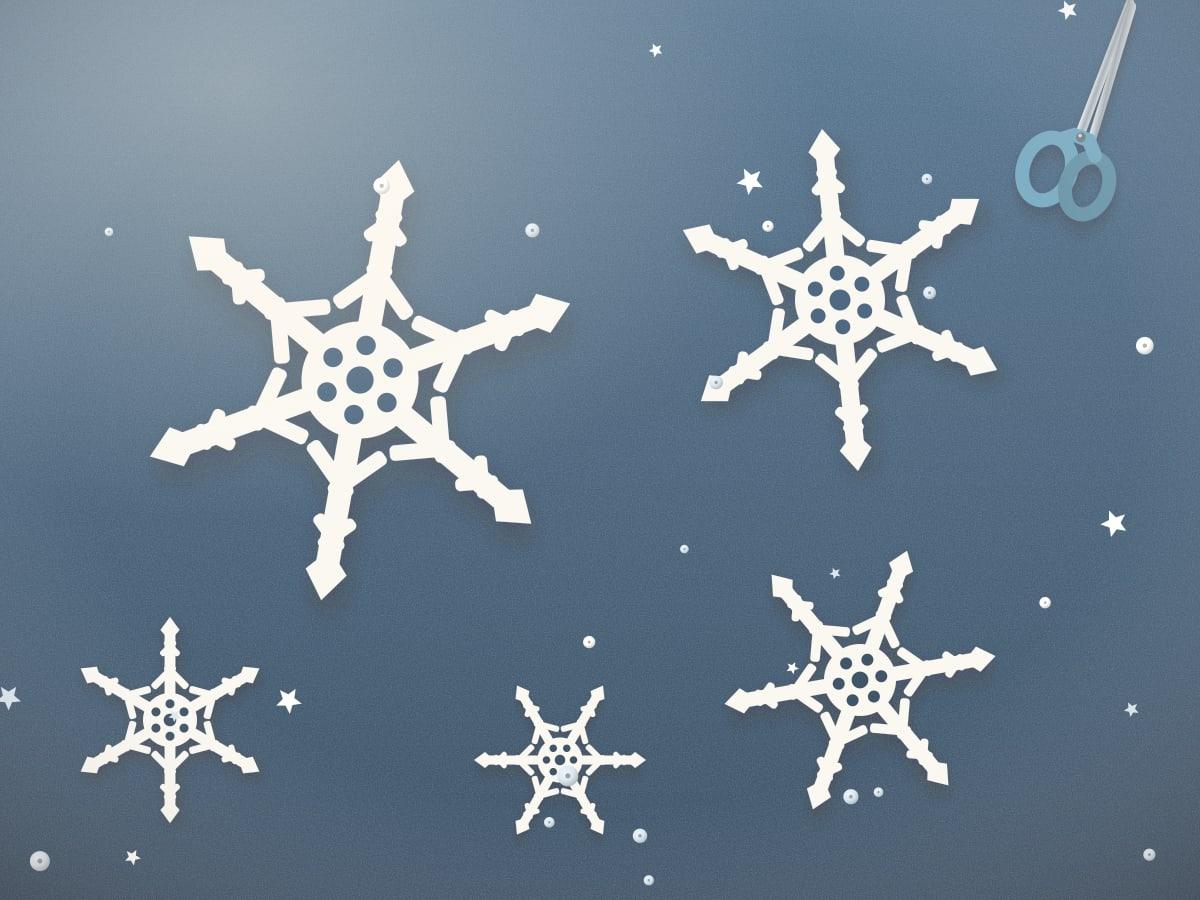
Paper Snowflake Christmas Ornaments
Fold and cut six-sided paper snowflakes, then stiffen them into ornaments for the tree or windows. Includes cutting patterns for beginners.
30 minutes1 min read
 Beginner
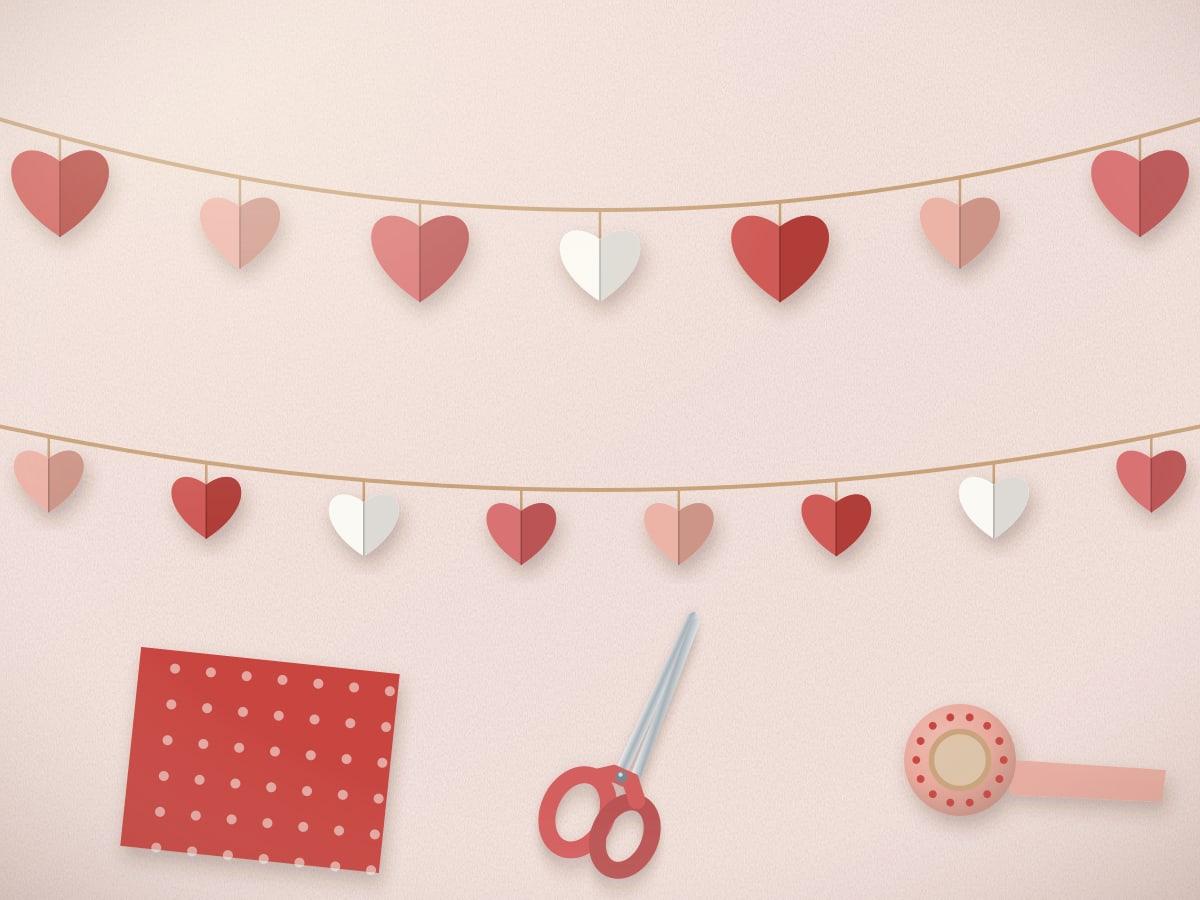
Valentine's Day Paper Heart Garland
Fold-and-cut paper hearts strung into a sweet Valentine's Day garland. Uses scrap paper, string and a few simple folds.
30 minutes1 min read
 Intermediate
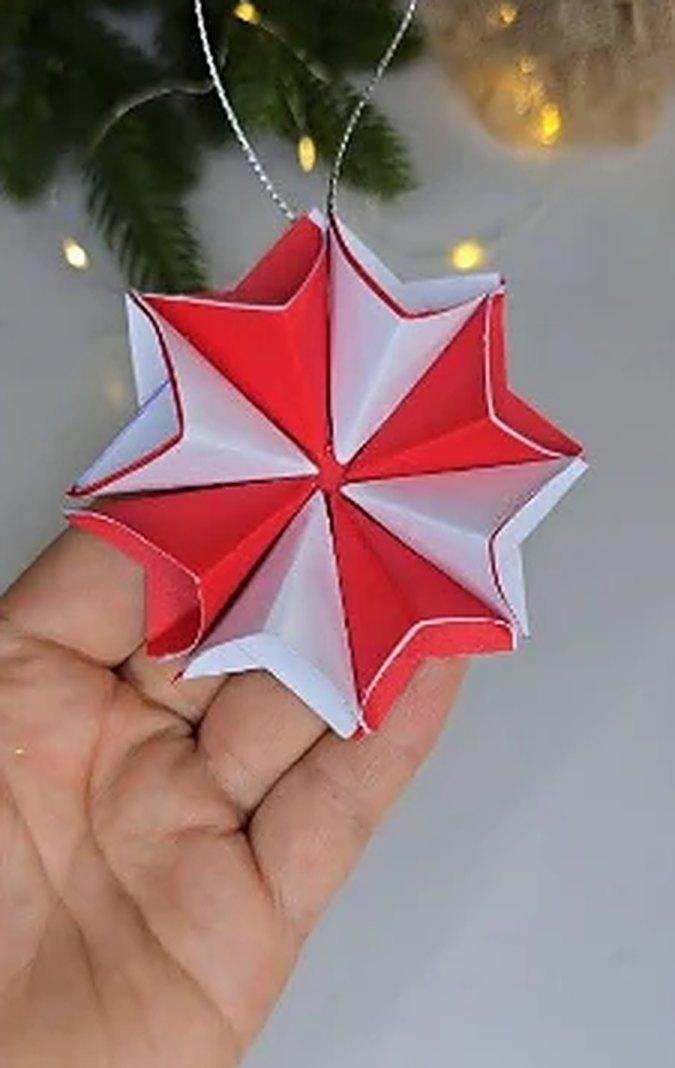
Two-Tone 3D Paper Star Ornament
Fold eight paper squares into a crisp red-and-white 3D star ornament. A modular paper craft that looks far harder than it is.
40 minutes1 min read
a little craft mail ✉
Get Creative With Us
Discover simple craft ideas and creative projects delivered to your inbox.
Send ideas to:
No spam. Unsubscribe anytime. See our Privacy Policy.