Paper Snowflake Christmas Ornaments
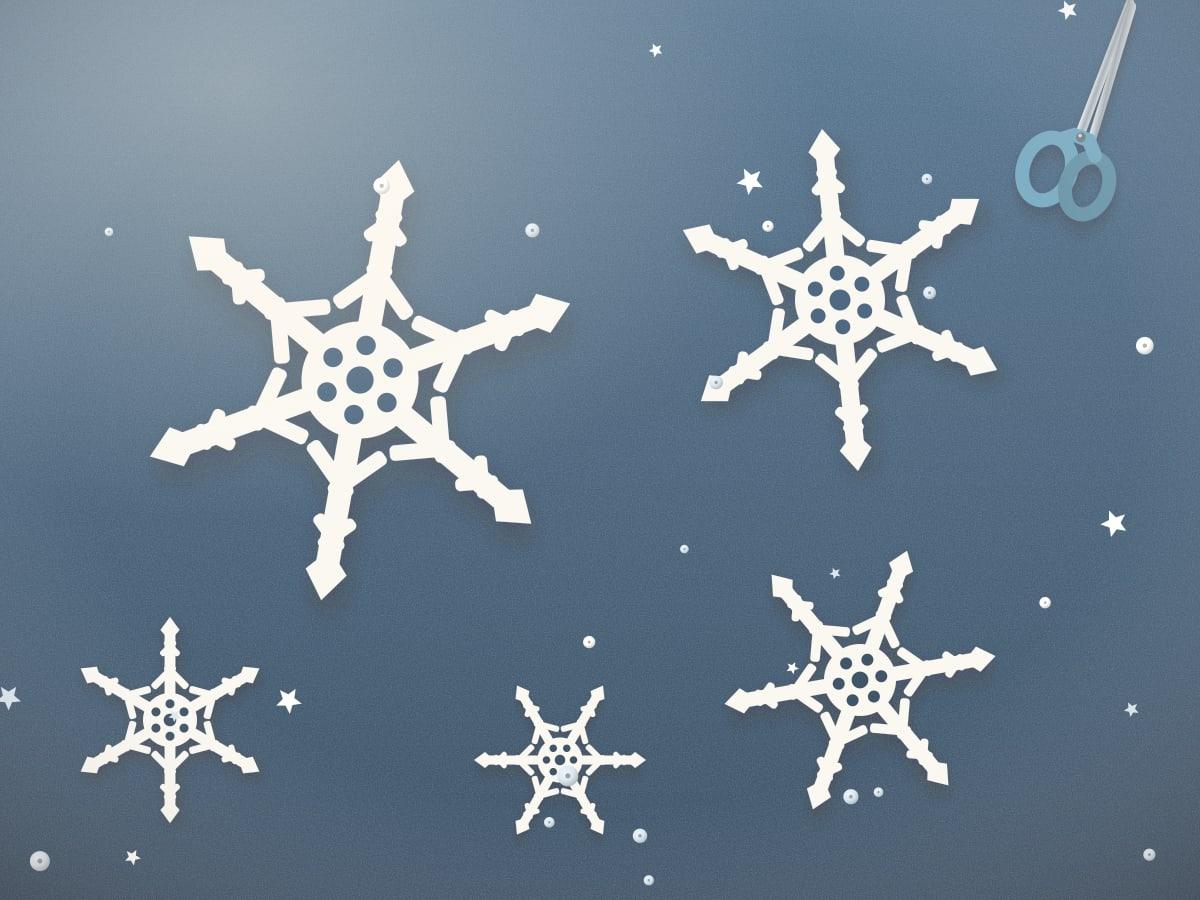
Real snowflakes have six sides, and with the right folds, paper ones can too. This tutorial shows the folding method that gives you six points, a few cutting ideas, and how to stiffen the snowflakes so they hang beautifully as ornaments.
Published · 1 min read
- Difficulty
- Easy
- Crafting time
- 30 minutes
- Estimated cost
- Under $5
Table of contents
Why six points?
Most quick snowflake tutorials fold paper into quarters, which makes eight points. Folding into sixths takes one extra step and gives a more natural-looking snowflake.
Stiffening options
A light coat of decoupage glue or spray starch helps snowflakes stay flat and makes them sturdy enough to hang on a tree.
shopping list ✓
Materials and supplies
Tick items off as you gather them.
tools you'll need
- Sharp scissors
- Pencil
- Paintbrush
let's make it!
Step-by-step instructions
Step 1: Make a square
Fold one corner of a sheet of paper down to the opposite edge to form a triangle, then cut off the extra strip. Keep the triangle folded.
Step 2: Fold in half again
Fold the triangle in half to make a smaller triangle, with the long folded edge at the bottom.
Step 3: Fold into thirds
Fold the left side over by one third, then fold the right side over the top so the edges line up. This creates six sections.
Step 4: Trim the top
Cut straight across the top at an angle, just below where the paper layers start, to remove the uneven tips.
Step 5: Cut your design
Draw shapes along both folded edges and cut them out: small triangles, half circles and notches. Leave some paper uncut between cuts so the snowflake holds together.
Step 6: Unfold and stiffen
Unfold carefully, press flat under a book for a few minutes, then brush on a thin coat of decoupage glue. Dry flat, then tie on thread for hanging.
pro tips!
Helpful craft tips
- Thinner paper is easier to cut through all the layers.
- Coffee filters make pretty, slightly translucent snowflakes.
Variations to try
- Window clings: stick snowflakes to windows with a little diluted glue.
- Gift tags: glue a small snowflake to kraft paper tags.
Safety tips
Sharp scissors cut cleanly through layers, so adults should handle the detailed cutting with younger kids.
Frequently asked questions
How do you make a six-sided paper snowflake?
Fold a square into a triangle, fold that in half, then fold it into thirds before cutting. The thirds fold creates six repeating sections.
What paper is best for snowflakes?
Thin printer paper or coffee filters. Cardstock is too thick to cut through all the layers.
Keep crafting
Related craft projects
 Beginner
How to Make an Easy Paper Star Garland
Cut, fold and string colorful paper stars into a garland for parties, holidays or a reading nook. Needs only paper, scissors and string.
45 minutes2 min read
 Easy
How to Make Salt Dough Ornaments
A three-ingredient salt dough recipe for handmade ornaments and keepsakes, plus baking, painting and sealing tips.
30 minutes plus 2–3 hours baking1 min read
 Beginner
Thanksgiving Leaf Place Cards
Make simple Thanksgiving place cards with folded cardstock and real or paper leaves. A calm, natural touch for your holiday table.
30 minutes1 min read
a little craft mail ✉
Get Creative With Us
Discover simple craft ideas and creative projects delivered to your inbox.
Send ideas to:
No spam. Unsubscribe anytime. See our Privacy Policy.