Simple Origami Paper Flowers for Beginners
The origami tulip is a classic first fold. It takes two squares of paper, one for the bloom and one for the stem, and no glue at all. Once you've folded one, a whole bouquet takes just a few minutes more.
Published · 2 min read

- Difficulty
- Beginner
- Crafting time
- 15 minutes per flower
- Estimated cost
- Under $5
Table of contents
Before you start
Origami paper is thin, square and colored on one side, which makes the folds easy to see. Any thin paper cut into a perfect square will work. A crisp crease matters more than anything else, so run your fingernail along every fold.
Bouquet ideas
Group five to seven tulips in a small jar, or glue a single tulip to the front of a folded card.
shopping list ✓
Materials and supplies
Tick items off as you gather them.
tools you'll need
- Your hands
- Optional: bone folder for sharp creases
let's make it!
Step-by-step instructions
Step 1: Fold the bloom triangle
Place the bloom paper colored side down. Fold it in half diagonally to make a triangle, with the fold at the bottom.
Step 2: Fold up the two side corners
Fold the left and right bottom corners up so they meet just past the top point. They should overlap slightly in the middle to form the tulip's petals.
Step 3: Shape the base
Turn the paper over. Fold the small bottom tip up about ½ inch to give the bloom a flat base, then fold the side edges in slightly to round the shape.
Step 4: Fold the stem
Fold the green square diagonally, unfold, then fold the two edges to the center crease to make a kite. Repeat once more to make the kite narrower.
Step 5: Make the leaf
Fold the stem in half lengthwise, then pull the inner flap out at an angle to form a leaf. Pinch the crease firmly.
Step 6: Join bloom and stem
Slide the top point of the stem into the pocket at the bottom of the bloom. Add a dot of glue if you want it to stay put.
pro tips!
Helpful craft tips
- Practice the bloom with scrap printer paper cut into squares first.
- Two-sided paper gives a pretty contrast on the petals.
Variations to try
- Paper flower wreath: glue blooms onto a cardboard ring.
- Place cards: write a name on the leaf.
Frequently asked questions
Can I use printer paper for origami?
Yes. Cut it into a perfect square first. It's thicker than origami paper, so the folds take a little more pressure.
Do origami flowers need glue?
The tulip holds together without glue, but a small dot where the stem meets the bloom makes it sturdier for display.
Keep crafting
Related craft projects
 Beginner
How to Make an Easy Paper Star Garland
Cut, fold and string colorful paper stars into a garland for parties, holidays or a reading nook. Needs only paper, scissors and string.
45 minutes2 min read
 Intermediate
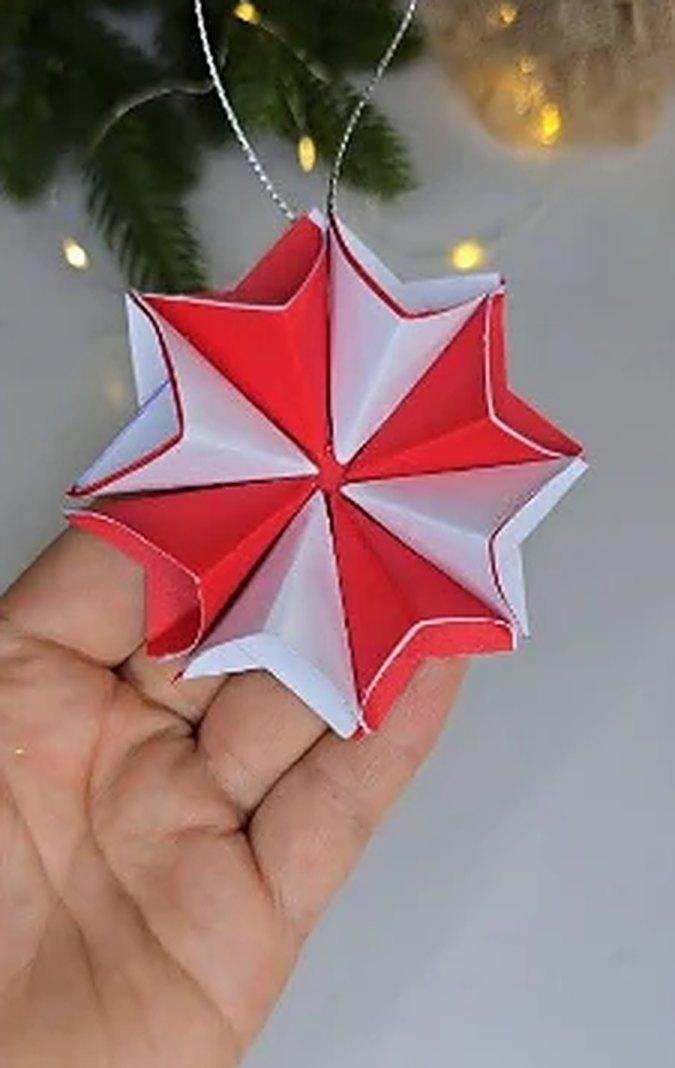
Two-Tone 3D Paper Star Ornament
Fold eight paper squares into a crisp red-and-white 3D star ornament. A modular paper craft that looks far harder than it is.
40 minutes1 min read
 Intermediate
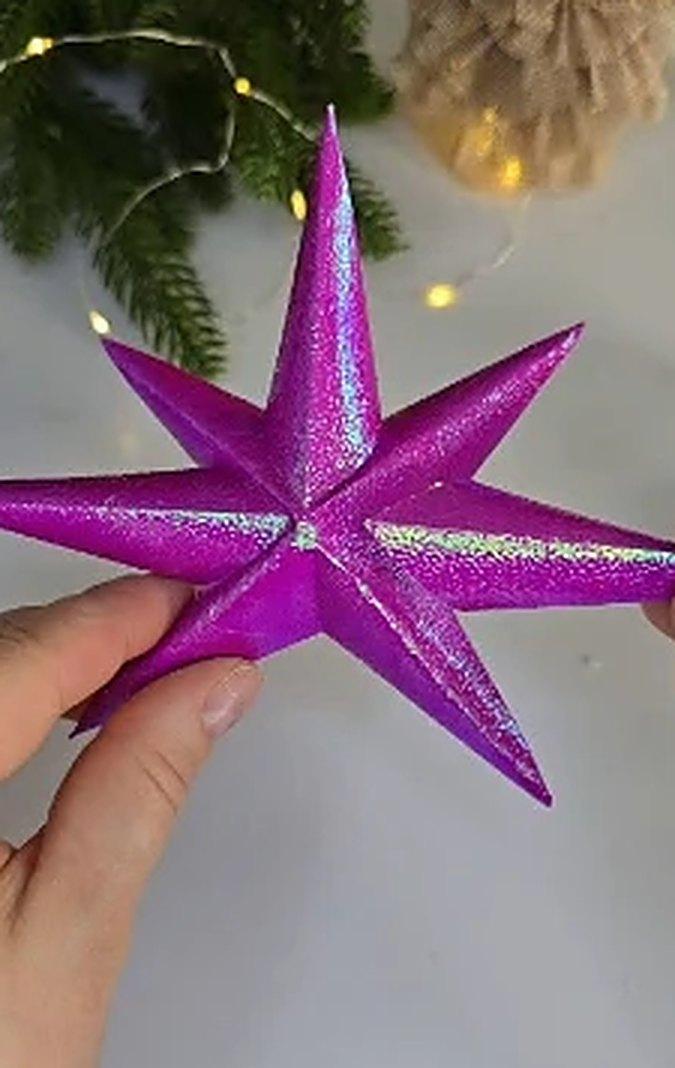
3D Holographic Paper Star
Score and fold holographic paper into a shimmering 3D star that catches the light from every angle.
30 minutes1 min read
a little craft mail ✉
Get Creative With Us
Discover simple craft ideas and creative projects delivered to your inbox.
Send ideas to:
No spam. Unsubscribe anytime. See our Privacy Policy.